


Latest


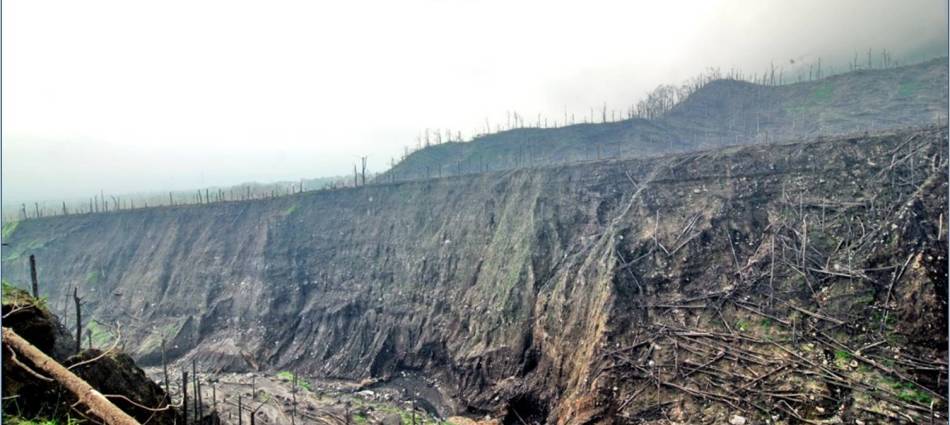
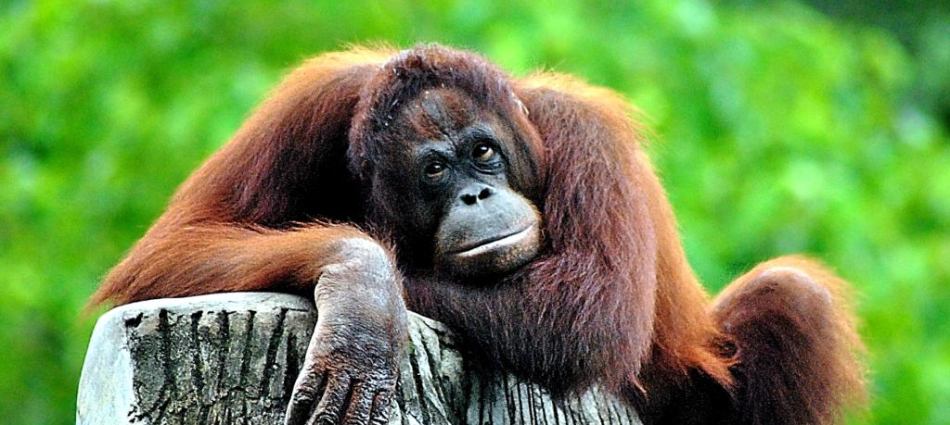
50 Days After Merapi Eruption


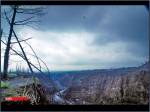


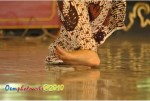
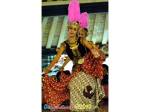
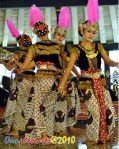
At the end of December 2010, I have a chance to visit Yogyakarta again with some of my friends, we visited some interested places around Yogyakarta such as Vredeburg Fort, Sultanate Palace, city sightseeing and walking along Marioboro Street. The most impressed place was Kali Kuning ( The Yellow River) which flows under mount Merapi, and yes, today is the fiftieth days after the eruption of Mount Merapi which has killed hundreds people and other disappeared. My eyes was amazed with wide range of bared hills, thousands died trees are stand without any leaves; thousand of them are collapse and overlapped each other. However, the city of Yogyakarta never dies. The soul and the enhancement of Yogyakarta is alive, hundreds people are come and gone and Yogyakarta are fully crowded of people from both domestic and international tourist at the end of 2010.
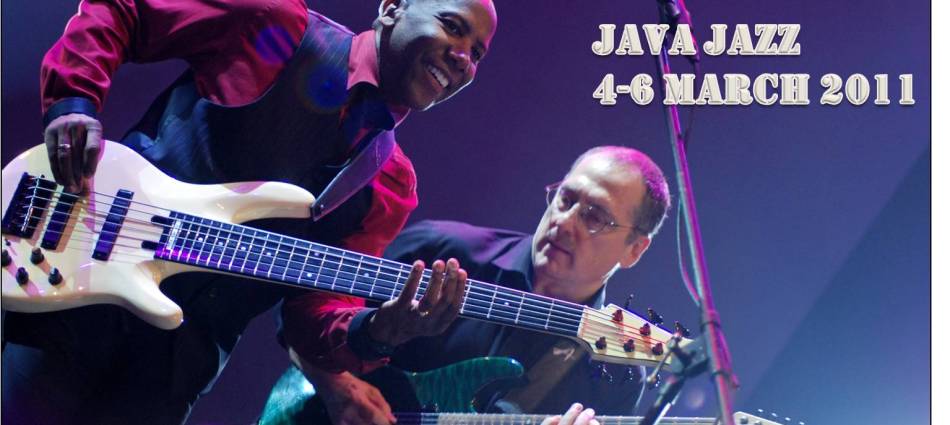
Java Jazz Festival 2011
This is a great moment. The fotografer net, the biggest photographer community in South –East Asia has selected me among the numbers photographers in this community to record three days International Jakarta Java Jazz Festival at JI. Expo Jakarta. I can meet directly some of my favorite guitarists and take their picture. Some local and International artists entertained the visitors with their spectacular performance, I was really impressed when Fourplay beat their first three songs, the real jazz beat and the audience are really excited, they jump, singing, and dancing on the floor. Cool….!!!! (***)


The Triangle Exposure in DSLR Camera
The fact that if you have purchased a digital camera, whether SLR or pocket camera means you plan to take your photography beyond the casual point and shoot stage. Even though, your camera intends only to capture your own activities with your friend or your family, or perhaps for another documentation purpose. or just for your private documentation. It is necessary to understand some important basic concepts to fully take advantage of your Digital camera. To fully understand and utilize the creative power of these incredible cameras, you need to understand the relationship of aperture, shutter speed, and ISO, or what we will call the ‘exposure triangle. ’ The basic rule to remember is that all three factors control your exposure: change any one variable and one or both of the other two must be changed as well. Understanding this relationship will allow you to move beyond making technically correct photographs to capturing really great images.
Aperture
The aperture is an adjustable opening in the lens of a camera. Somewhat like the pupil of our eye, the aperture adjusts to allow more or less light to enter the lens and reach the sensor. The size of the aperture is controlled via an adjustable diaphragm that opens or closes to allow more or less light to enter. On a standard camera lens, we measure in units called ‘ stops. ’ Each f/stop represents either double or half the amount of light, depending on whether the lens aperture is opened or closed. The in verse relationship between the f/stop number and the amount of light entering the lens is confusing to many novices. As the aperture is ‘ stopped down, ’ the numerical f/stop value increases and as the lens is ‘ opened up, ’ the
numerical f/stop value decreases. We would classify a ‘ fast ’ lens as one with a maximum aperture (minimum f/stop number) of, say, f/1.4 or f/2.8 for example. Typically the same lens would have a minimum aperture (maximum f/stop value) of f/16 or f/22. Remember, as you open up the aperture by one stop you are allowing twice the amount of light to enter the lens, and as you close down one stop you are reducing by half the amount of light reaching the lens. You can see in the examples below the effects of one-stop difference either way.
Each of the f/stop settings below represents a one-stop difference in aperture. As the f/stop numerical value increases, the amount of light decreases. Depending on which way the aperture is adjusted, each f/stop setting either halves or doubles the amount of light entering the lens and reaching the sensor.
f/1.4 f/2.8 f/4 f/5.6 f/8 f/11 f/16 f/22 f/32
Shutter Speed
Shutter speed refers to the amount of time the shutter remains open and allows light to enter and pass through the lens and strike the sensor. Shutter speed is measured in seconds and usually fractions of a second. You will often see 1/125 or 1/1000 as typically used shutter speeds for daylight photography, while 1/60 or even 1/30 is commonly used with fl ash or studio portrait photography. Many landscape photographers often employ shutter speeds involving several seconds.
As with the aperture, shutter speed is measured in units called ‘ stops. ’ Increasing the shutter speed by one stop decreases the amount of time light is allowed to strike the sensor by half. Conversely, decreasing the shutter speed by one stop allows twice as much time for the shutter to remain open allowing light to enter and strike the digital sensor. Obviously increasing or decreasing the shutter speed without making a corresponding adjustment to the shutter speed or ISO will result in an over- or underexposure of an image.
In the same way that different aperture settings affect the look and feel of a particular image, diff erent shutter speeds can also produce various aff ects on the way a photograph is interpreted. A really fast shutter speed can literally ‘ freeze ’ action, such as a formula one car or even a bolt of lightning, while ‘ dragging the shutter ’ or intentionally shooting at a slower shutter speed can invoke a feeling of motion with the very same subjects. In this way aperture and shutter speed can be adjusted for a specific desired artistic affect.
Each of the values below represent a one-stop difference in shutter speed. As with aperture, depending on the direction we move, with each change in shutter speed we either halve or double the amount of light entering the lens and reaching the sensor.
1/15 1/30 1/60 1/125 1/250 1/500 1/1000
1/2000 1/40,000
Aperture and Depth of Field
Learning to understand and use the relationship between aperture and depth of fi eld is probably the single most important creative tool available to you as a photographer. Using the Program mode, or Full Auto mode, on your Nikon Digital SLR will almost always yield a technically correct photograph, but often the aperture chosen by the camera is counter-intuitive to the actual intent of you, the photographer, as an artist.
The two factors that determine depth of field are aperture and the focal length of the lens. As we stop down the lens aperture we increase the depth of field, and as the focal length of the lens increases, the depth of field becomes smaller. In other words, a 16 mm lens at f/22 has a larger depth of field than a 400 mm lens at f/22.
ISO
ISO (formerly ASA) is a numerical value representing the sensitivity of your digital sensor. ISO traditionally referred to the sensitivity of film, so often digital cameras tend to refer to ISO equivalents. The higher the ISO setting the more light sensitive the sensor is, or less light is required to get a correct exposure . Knowing this would lead us to ask why we wouldn’t opt for the higher ISO settings so as to maximize shutter speed and sharpness.
The hard fact is that it is a trade-off : the higher the ISO the more digital ‘ noise ’ produced and the longer it takes the camera to process the image and write it to the memory card. Just as increasing the ISO makes the digital sensor more sensitive to light, it also increases the sensitivity to digital noise. The newer generation of Nikon Digital SLR cameras have amazingly low noise, even at higher ISO settings, but images shot at ISO 100 are still noticeably cleaner, especially when you zoom in close and crop.
There will be different from images shot at ISO 100 and ISO 3200. Notice the difference in digital noise levels. Some photographers use this effect for creative purposes, the same way that grain was employed during the heyday of film cameras, but most photographers will opt for lower ISO settings when given the option.
Each ISO value below represents a one-stop difference. With each increase or decrease in ISO value, we either double or halve the amount of light required to get a proper exposure.
50 100 200 400 800 1600 3200
Remember, as any one aspect of the exposure triangle is changed for a given situation, one or both of the other two must be adjusted to maintain a correct exposure value.
RAW File Versus JPEG File; Advantages and Disadvantages
One thing need to be considered before taking a picture is to set up the type of file, whether in RAW format or in JPEG format. However, many of us as beginner photographers still confuse what are the differences between RAW file and JPEG file and what are the advantages and disadvantages of both files format and in many cases we do not pay much attention on it.
When you take a picture in a jpeg format, the camera does things to it before it’s saved. The image sensor converts analog to digital, adds any specifications that were made, like white balance, sharpening, contrast, image effect, digital zoom, etc. After all of that is done, the image is saved to the memory card.
In a lot of cases, that is the best way to go, because the camera is very smart about interpreting the surroundings and adding the right specifications.
A raw file format is the unprocessed data file that is captured by the camera’s image sensor before any specifications are applied. This can be very helpful to have when the camera doesn’t interpret the light or the images the way you want it to. If you don’t get the results you want with the settings you’ve made for a picture, you can take a raw picture and not have anything “added” to the image. The picture can then be edited in your photo editor to get the look that you want, rather than having to adjust from the settings made to a jpeg image.
Finally, more or less both file types have advantages and disadvantages, even though JPEG as an auto mode file, usually more bright. On the other hand, it usually lose of the details. In contrast to RAW file, even though less of brightness, it is able to save the details of image, you just need to install RAW plug-in into your computer in order to edit your images.